Greenhouse: Considering the plan
As you know we got ourselves a bunch of old windows with the idea of making our own greenhouse out of them. Amanda got a bunch more from upstate when visiting her family, so between the two loads of windows I think we have more than enough to make an amazing little greenhouse.
We’ve been surveying our options for a site and have decided to place it to the north of the barn in what would be a clearing, if it wasn’t our brush pile. The brushpile is enormous as the previous owners clearly had been throwing brush there for years. The area is probably 30 feet wide and 30 feet long, and who knows how deep the rotting brush is – its at least up to my waist. The task of clearing the area is going to be a challenge, we are hoping to burn off a good portion of the brush this winter as fuel to boil down our maple sap into syrup.
The clearing is relatively clear of trees, so it should get a good bit of sun. It is also far enough away from the barn and other outbuildings that it won’t be in shadow. The space is rectangular and more-or-less oriented on the cardinal points, so we should be able to get a good orientation for the greenhouse.
One we decided on the site the first step in the project is determining a plan. I pulled out my copy of Architectural Graphic Standards and flipped to the back to find the section about greenhouses. There I found basic information about orientation, plan and section designs. I also checked out WVU’s website and found a wealth of information there. The major considerations were orientation and greenhouse plan.
Orientation:
This is a simple one, according to all the documents (and common sense), the greenhouse should be oriented so it gets maximum sun exposure. This means that the largest surface (the long side if it is a rectangular building) faces the south. As I said, our clearing is roughly oriented along the cardinal points, so we can easily place a building in there so that the long side faces south.
Plan:
This is a little trickier, so I cracked out my old T-square and adjustable angle (for a traditional greenhouse I’ve decided to use traditional drawing methods – no AutoCAD this time).
Round:
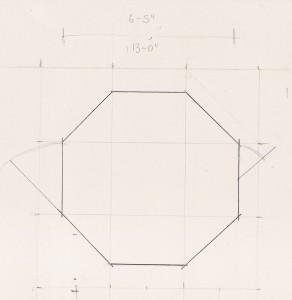
The ideal plan from the perspective of solar efficiency would be round. When the sun shines down against a glass surface, if it doesn’t hit at 90 degrees to the surface, sunlight is reflected off and energy is lost. So, ideally the as the sun moved across the sky there would always be some portion of the greenhouse at 90 degrees to the sun. Short of having the house on a giant lazy susan that spins it to match the sun’s path, the next best option is to have a round greenhouse – that way there is at least always one face that is oriented to the sun. In our case, since we can’t make curved walls using our recycled windows, the plan would need to be an octagon or dodecagon. We tried out the circle, but we only have 28 windows. The idea is to build a cinderblock base and stacking two rows on windows on top. With two rows of windows that means the most we can have is around 14 faces. I tried out an octagon, but the total area ends up relatively small. Also, while circular plans are spatially efficient (they can fit the maximum area within the minimum amount of surface) they are a total pain to layout furniture. Its really hard to fit a bunch of rectangular benches in a round room without a lot of lost space, and building a bunch of custom circular benches would be a complete pain.
Personally, I like the rounded aesthetically, but with a couple of strikes against it – and also knowing that construction would be more of a challenge (because it involves more math and mitreing), we won’t be going with the round plan.
Rectangular:
The rectangular plan is much more classic, and since we are going for a fairly traditional look – tending towards the victorian – it is definitely an option to consider. We can make a rectangular space that is 4 bays long by 3 bays wide with our 28 windows and have a few to spare. We can also put a door at both ends. While we likely won’t use the back-door for circulation, it could be helpful for ventilation. This plan would also be the easiest to build, 90 degree angles are much easier for the amateur like myself than trying to mitre all the joints to make an octagon. The rectangle, while typical is definitely a leading option.
Cut Corners:
Just to try out some alternatives, we tried a plan with some cut corners. Its essentially the same as the rectangular plan but it actually sacrifices a little bit of internal area. The cut corners end up making the short sides only two panels, so centering a door is a challenge. We tried it on the corner. Basically this plan just seems awkward, there is no benefit to cutting the corners and it just causes a lot of problems. So, this idea is out.
Rounded Apse:
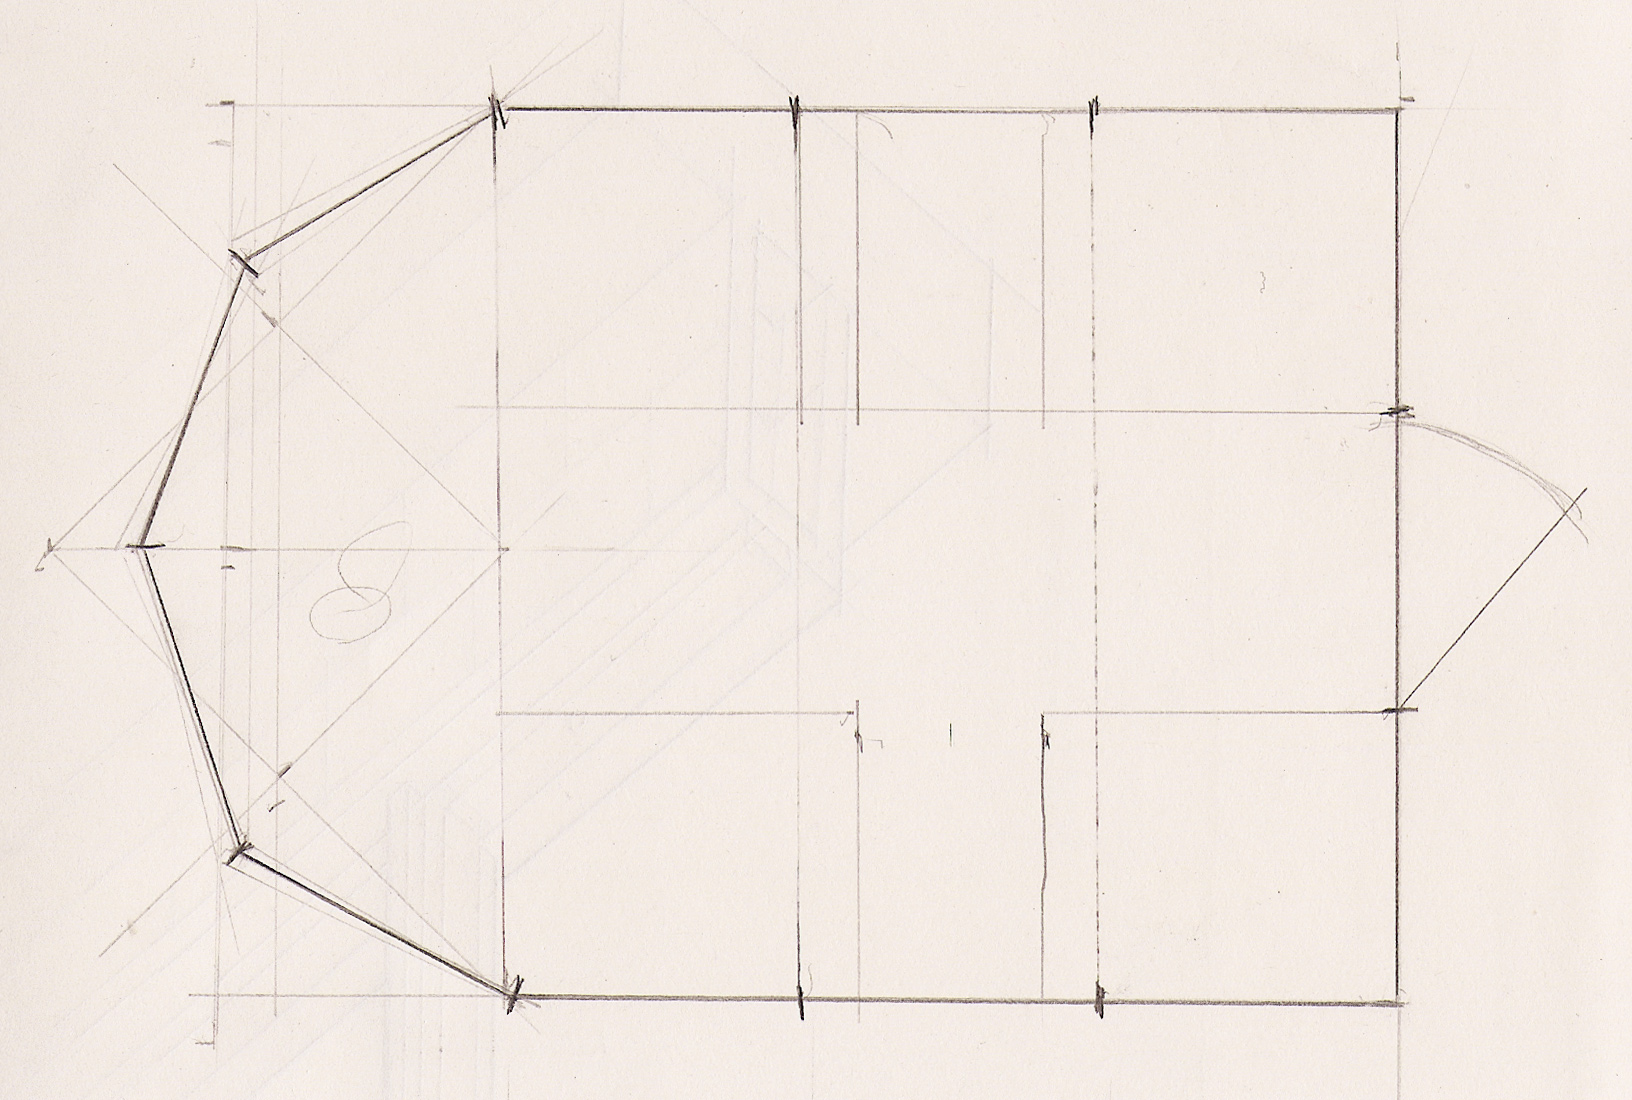
The last option we considered is a mix of the rectangular and rounded. We would use the rectangular plan, but instead of a two flat short sides we would round one. This gives us a little more area, a minor bit more surface facing the sun, and also gives us a shape that we think will be really beautiful in our clearing. The rounded back reminds me of a church apse, so I think it will also play well with the victorian aesthetic we are going for.
So, the rounded apse plans what we are going with – on to figuring out the details!


